Our swimming pool leak detection process
Six steps, taken in the same order on a standard, infinity edge, custom or commercial pool. Each one answers a single question and hands its result to the next, the way Chris Sears works a leak: from the level of the water at the surface, down through the basin and the lines, to the report in your inbox.
On the deck
Equipment
Every visit starts with the equipment, because each instrument answers a different question and none of them answers all of them. Acoustic listening devices, pressure testing gear, water level sensing equipment, electronic basin and structure testing, dye, and the SCUBA kit: a pool that is losing water through a cracked skimmer line needs a different tool than one losing it at a tile joint.
That is why the list is long. A single gauge can tell you a pool is leaking; it cannot tell you where. David Savino lost suction in both skimmer lines and wrote that “Chris came out as scheduled with audio, camera and scuba equipment that was incredible.” The equipment is what lets the digging, if there is any, happen in one place.
At the waterline
Water loss confirmation
Before anything is opened up, the loss gets measured. A baseline reading is taken and set against the day’s evaporation index, because a pool loses water to the air whether or not it leaks. The question at the waterline is whether the pool is giving up more than the weather accounts for.
That number is what the rest of the visit is checked against. When the testing and any repairs are done, a final measurement is taken, so the result is a before and after you can read on paper instead of a feeling that the level looks better. It is also the figure behind the promise: a pool losing half an inch or more a day with no heater running is the pool our No Find, Full Refund policy is written for.
On the floor
Reservoir inspection
The basin is the pool and the spa together, one reservoir, so both are inspected. Liner or plaster, tile line, steps, fittings and the shell around them are checked first from the deck with electronic basin and structure testing, and with dye wherever water might be leaving. It comes before the plumbing because it is the part that can be checked without opening anything up, and a failed joint or a punctured liner is a far cheaper answer than a break under concrete.
When the shell needs a closer look, the inspection goes underwater, with photographs that end up in your report. Chris is a NAUI scuba instructor and Catherine is NAUI certified, which is not something every leak detection company can say.
Did we mention SCUBA? Yep! That too!
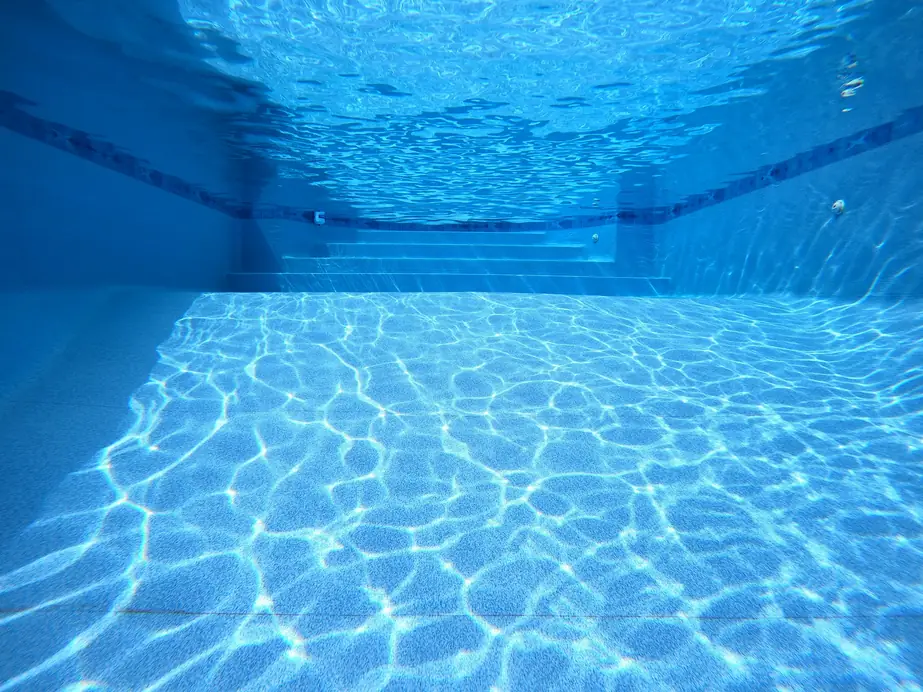
The pool floor from below: caustics across the plaster, the steps, and the tile band at the waterline, the view a dive puts on the report. In the lines
Pressure testing
With the basin checked, the plumbing is next: the filtration system first, then the entire plumbing system, put under pressure line by line until one of them will not hold. Testing the lines one at a time is what turns “somewhere in the plumbing” into “this line.”
What moves the visit to the next step is a line that fails. Once a line gives way under pressure we know the water is leaving through the plumbing, and the question changes from whether to where. That is the job of the audible survey, and it is why the loss was measured and the basin cleared first: so nobody listens under a deck for a leak that was sitting in a fitting.
Under the deck
Audible survey
Listening to the Problem
Water, air and specialized listening devices are used to locate the underground plumbing beneath your decking. The leak makes a sound, and the survey is the work of following it to the spot where it is loudest, so you dig in one place instead of tearing up the whole deck.
It is slow, patient work. In Savino’s case it ran for hours: “After 2 or 3 hours he pin pointed the leak and I was able to hear it.” Joanna Padgett-Atkisson put the payoff plainly, saying the service was worth the price “to have such a skilled owner save me from destroying my entire deck to find a leak.”
In your inbox
The findings
A digital copy of the findings report is emailed after the inspection, with the underwater photographs when the shell was dived. Simple epoxy and vinyl repairs found along the way are done at no additional charge with the service fee, which is how Dennis Gray’s liner punctures were patched on the same visit.
For a major repair we consult with you and recommend the most cost-effective solution, and that usually means going back to your original pool contractor. We find the leak and say exactly where it is; we do not sell you the dig. Not sure what the day itself looks like? Read what to expect before, during and after the visit.
The methods, one by one
The same instruments show up across the steps above. Here is what each one is for.
- Acoustic listening devices
- Used in the audible survey. Water, air and specialized listening devices pick up the sound of a break in plumbing you cannot see, under decking and concrete.
- Water level sensing equipment
- Used to confirm the loss. It puts a measured number on how much water the pool gives up, so the baseline and the final reading mean something.
- Electronic basin and structure testing
- Used on the reservoir. The pool and spa shell, the fittings and the structure around them are tested electronically before anyone talks about draining.
- Dye testing
- Used at a suspect crack, joint or fitting. The dye shows whether water is moving through it, which turns a hunch into a location.
Start with a phone call
Tell us how much water the pool is losing and what type of pool it is, and we will quote you properly. Fees are due at the time of service. If you want to check your own pool first, the bucket test and the signs of a leak are a good place to begin, and every pool type is covered under our services.
Toll-free (888) 896-AQUA, Mon-Fri 9am-5pm.